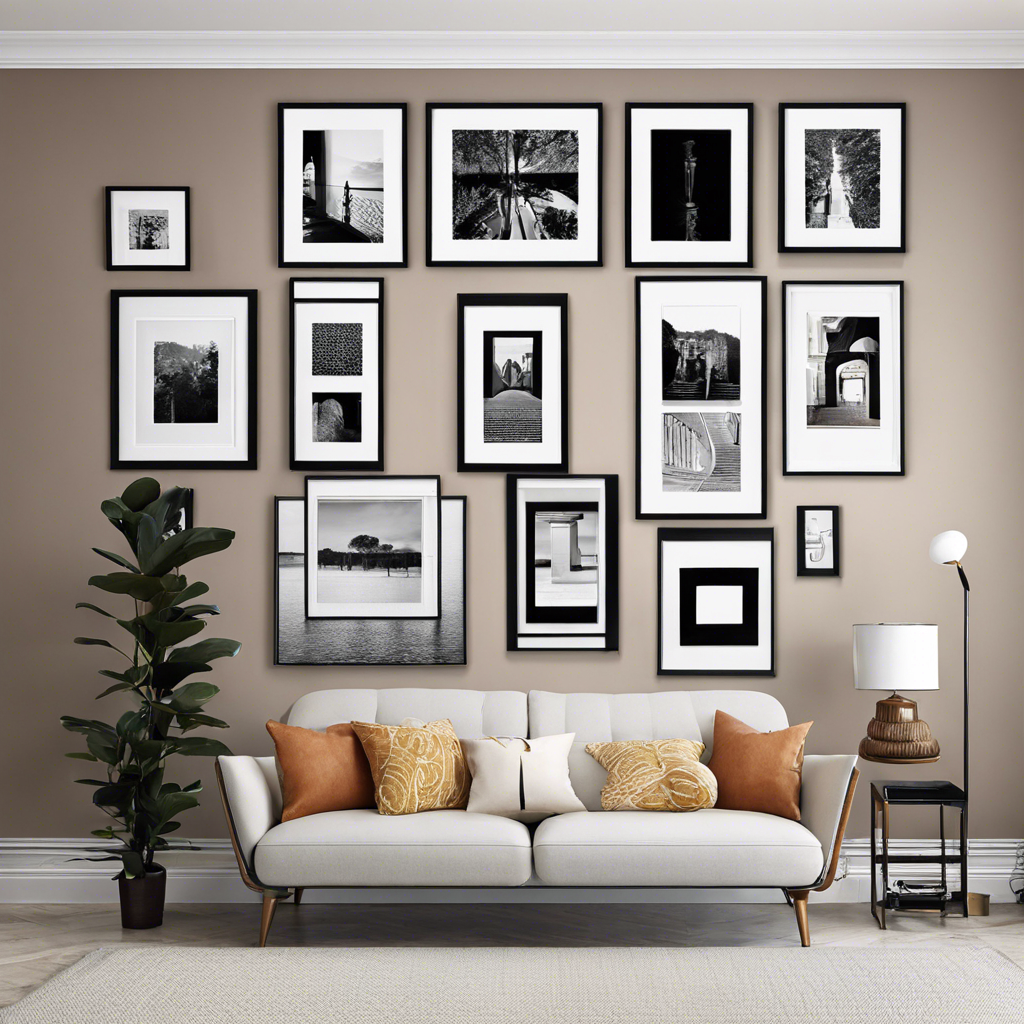
A gallery wall is a creative way to display art and decorate your home. To create an eye-catching gallery wall, start by determining a theme or color palette to tie all the pieces together. Gather art that you already own or purchase new prints that match your desired theme. Once you have a collection of art ready to hang, lay it out on the floor and arrange the pieces into a pleasing composition before hanging anything.
Think about the layout of your wall space and arrange the art in a way that fills the space attractively. A symmetrical layout with evenly spaced, same-sized pieces can be simple but elegant. For a more eclectic look, arrange the pieces at varying heights and spacing. Include a mix of sizes, vertical and horizontal orientations, framed and unframed pieces for visual interest. Step back and review how the arrangement looks from a distance to ensure there is good balance and flow.
Next, measure and mark the wall to indicate where you want the center and edges of each piece. Hang the centerpiece first, then work your way out from there. Use a level to make sure each piece is even. For framed pieces, use picture hanging hardware and secure the frames snugly to wall studs where possible. Use wall anchors for lighter pieces where there are no studs.
Add final touches like lighting, plants or decorative objects to complete the look. Spotlights, sconces or natural light from windows will help highlight your gallery wall. Small tables, chairs or benches placed in front of the wall also invite people to sit and enjoy the view.
With some time and patience, you can create a professional-looking gallery wall in your own home. Start with a cohesive theme and arrange the art in an attractive composition before hanging anything. Measure, level and securely hang each piece. Add lighting and accessories to complete the look. Step back and admire your work—you’ve created a custom art installation to enjoy for years to come!